Summer 2005 - Having discovered Ebay, I now have all the parts necessary to complete the front end facelift. First lets see how she used to look.. (this photo is old, she's all rusty now)


The first job is to relocate the indicators to the bumper holes. These Hella 55mm units were bought from Premier Wiring Services for a very reasonable cost. They are bolted to the bumper mounts using brackets made out of scrap.


And here we have the star of the show - a set of MK3 Capri headlights (picture is just the backplate). Lovely.


They are trimmed to fit and new mounting brackets added. The metal came from a loft ladder and a pushchair. Eagle eyed readers will notice this isn't the same backplate as the previous photo, it's the other side.


The headlight opening has to be fettled a little. I must do something about that rust.


Here's one side assembled. It all has to come apart again for painting. The trim rings are MK3 Cortina from Ebay - they're gaffer taped on for the photo. You can see the indicator is quite subtle. Now to do the other side....


In these pictures the lights are all in and everything is painted with Hammerite. So theoretically now just the wiring to do and I'll have lights.


I used the wiring from inside the original light, plus a H4 connector from the motor factors, to make this adaptor harness. It joins the original Lada loom to the Capri lights. Obviously I made two.


Disaster, when it was all connected up the headlights could not be adjusted straight. The car was cross eyed, although the high beams were spot on. Here's my headlight alignment rig.


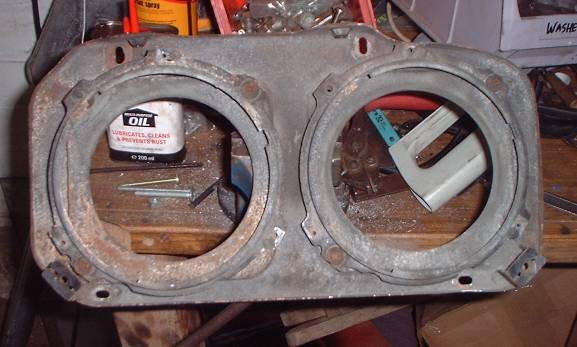
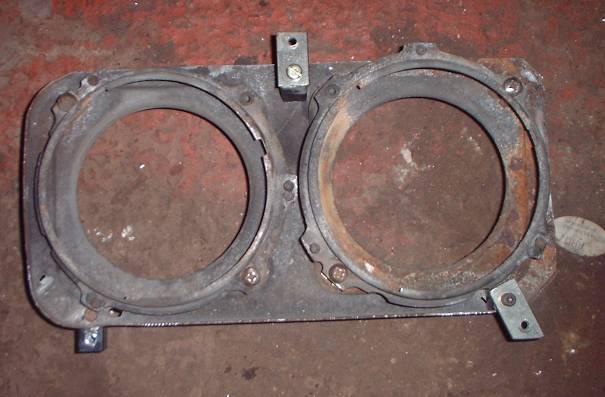
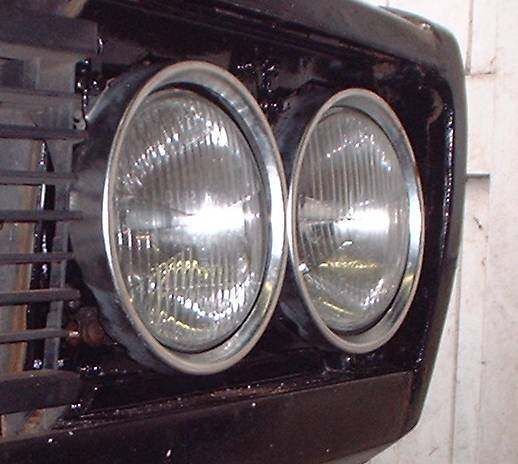
After some investigating, I discovered the back plates were bent. When I cut them down to size, I removed the strength from the top edge and they bowed. They were bent straight again, and reinforced using aluminium angle (more recycled pushchair). It worked a treat and they adjusted perfectly. Hooray!


I'm not making the grille yet because I haven't got all the bits, but I couldn't resist temporarily fitting the trim rings. I made up some brackets (more pushchair, steel this time) and mounted one side. The brackets "vanish" when painted black, but eventually there will be black mesh to cover my sins..


Another disaster. My pathetic collection of blunt drill bits finally give up the ghost. That pushchair metal is strong! It's Sunday afternoon and the shops are shut so all progress stops with only one side done. Tune in next week!


Pictures : John
Tile: John


Copyright 2005 Bad Design Inc